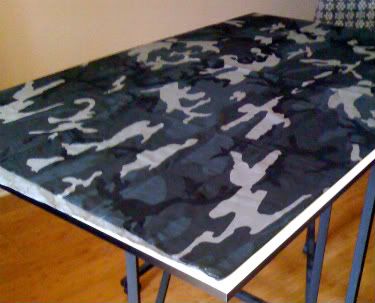
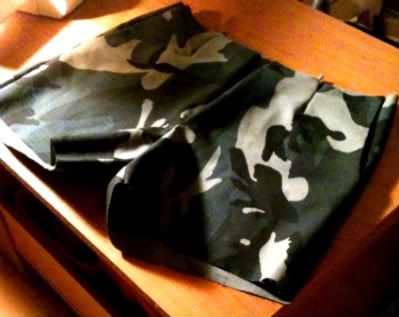
First off, I have no idea why or when I purchased all this camouflage fabric. None. I can only recall that I've had it for a while. And it wasn't until a few weeks ago that I even knew what I wanted to do with it. I decided to sew a romper! Click below to see how it turned out:
The fabric was a heavy denim type fabric, but that made it easier to work with. Lightweight fabrics like chiffons are much more difficult to steady. Outside of the collar on the bodice and getting the fit of the shorts where I wanted them (modified the shorts pattern about 6 times before being satisfied with them) everything else went pretty smoothly. And of course I added side pockets.
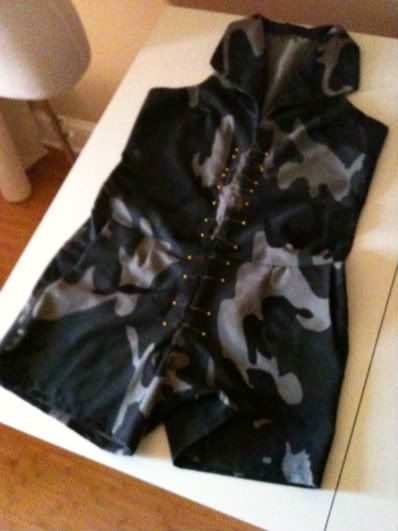
This is my romper all sewn together with the center front basted and pinned together with the zipper pinned in and ready to sew (above).
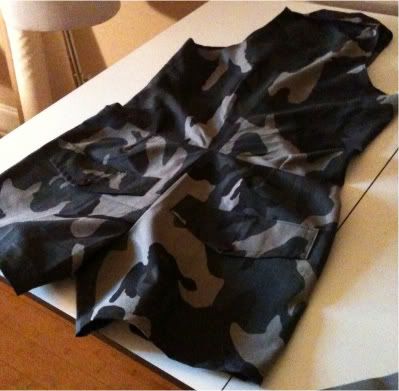
The back view of my romper. I decided pretty late that I wanted back pockets, so I measured the back width of each side and drafted a pocket pattern a few inches less than the back measurement width of each side. The pockets are only faux pockets, so they're there just for a "look."
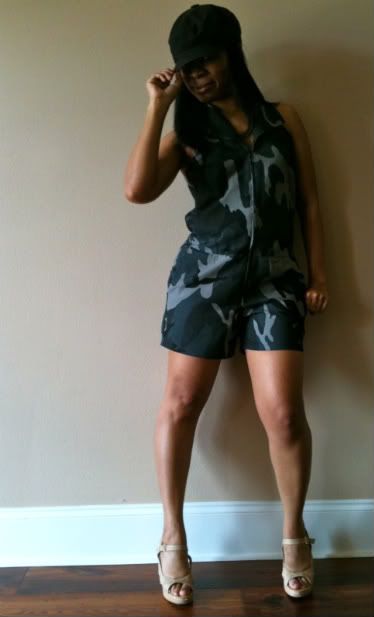
And voila! My completed camo romper! I'm happy with it. See a couple more pics of it HERE. Now on to the next one...
you on My Camouflage Romper...http://amazing-pictures-photos.blogspot.com/2010/07/my-camouflage-romper.html